How To Make A
Double Loop Link Pin
Double loops are used to attach pieces of a beaded glass jewelry design together or to form a dangle on a beaded earring.
These loops are to be found quite often in plain jewelry chain making.
Many necklaces are made from joined loops, as they are very light.
Long necklaces that go around the neck a couple of times are usually made with this style of loop.
Lightweight bracelets are frequently made this way. They are very good for glass pearl bracelets and swarovski crystals.
These loops are used especially for rosary beads; it is much easier to make these small scale loops than trying to make the larger wrapped loops.
Depending on the bead size, a 3-inch straight length of 20-22gauge wire should be long enough to make a double loop.You will need the following tools:
One Pair Of Chain Nose Pliers
One Pair Of Round Nose Pliers
One Pair Of Cutters
Stage 1:
Make the first loop as per the instructions for making an eye pin loop.
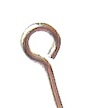
Slide the bead onto the wire.
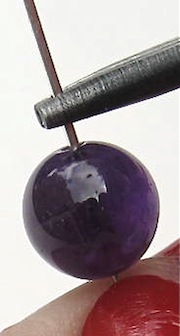
Stage 2:
Hold the loop between your fingers, using your chain nose pliers hold the wire on top of the bead and bend the wire with your fingers to make a right angle bend.
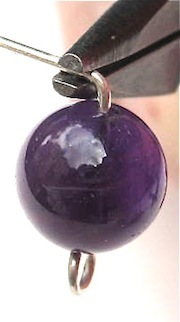
Stage 3:
You can cut the wire as shown in the photo, but I think it is easier to bend if it is left uncut.
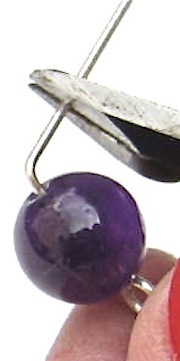
Stage 4:
Grasp the wire near the end with your round nose pliers; gently roll you wrists to form a loop.
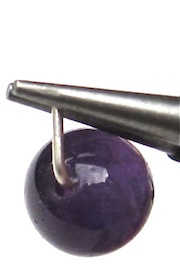
If you leave the wire uncut form the loop with your pliers and then cut the extra piece away with your side cutters.
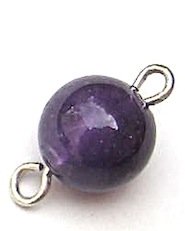
You will now have a nicely formed link pin.
The loops should be nicely tucked in against the bead.
Return To Wire Work
Return To Home Page